Getting Started with ODO
Currently, ODO only supports 64 bit desktop Linux.
Run
- Clone the git repository:
git clone https://codeberg.org/straightway/odo.git - Change to the directory named ‘odo’ and start the
run.shbash script.cd odo ./run.sh
This will download all dependencies, build the project, which can take some minutes on first start. Then the script starts the ODO launcher app (including IPFS).

You can build the prototypical ‘Hello’ app with
./gradlew odo.hello:build
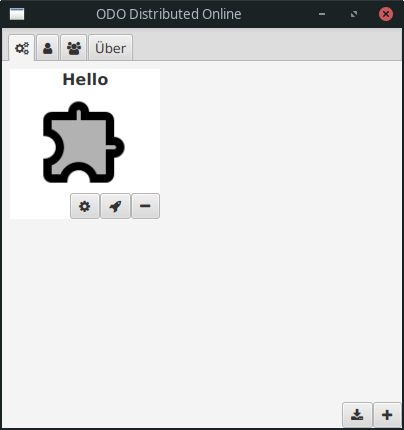
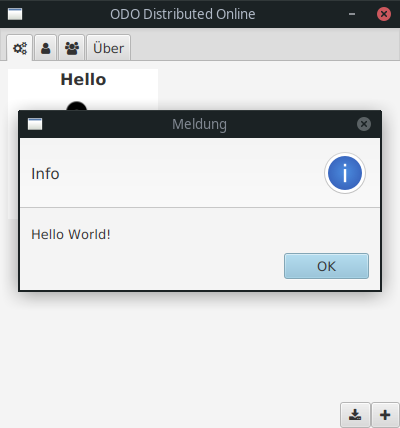
and then locally add it (plus button in the bottom right corner) from the subfolder odo.hello/app, so you will see it in your apps view. You can run it (rocket icon), upload it (open properties via gear icon, then upload) or delete it (minus button). You can also download an app using the download button in the bottom right corner. This can be a ‘Hello’ app you just uploaded and then deleted. Of course you have to copy its URI for that.

Executing run.sh without parameters executes ODO in its default location ~/.odo. For test purposes, you can run multiple instances by passing a numeric argument:
./run.sh 1
This starts an odo instance which is hosted under build/odoInstances/1 in your project directory. It uses a different configuration, so that it can run in parallel with the other instances. You can download an app by copy & paste the app’s URI from one instance to another.
Development
To start with development, simply open the ‘ODO’ folder with IntellijIDEA (works well with the free community edition).
To view and edit documentation and UML diagrams, installing the ‘Markdown’ and ‘PlantUML integration’ plugins is useful.
Go on with reading the coding guideline.